
I decided to make Corvette cookies as part of Scott's (my husband) birthday gift this year. Luckily, Jenny graciously helped me out with this endeavor since I was a relative newbie in designing and decorating cookies. I initially thought it'd only take a few hours to bake and decorate, but I was off by a couple of days (due to waiting for icing layers to dry in between)!
So to all you fellow newbies out there, here are 10 big lessons learned:
Lesson #1: Baking cookies from dough is only half (more like, a lot less than half) the battle.
I've baked cookies before, so I initially thought I could make a whole batch of cookies and decorate them in a few hours. Little did I know at the time, I was very unrealistic in my expectations with the amount of time I actually had! Jenny suggested that I just make 5 so that I can practice on a couple (so a net yield of 3 or 4 that might make the final cut). Imagine my disappointment, knowing that I can only make 5 from my initial estimate of 20, but she turned out to be right.
Lesson #2: What you envision in your mind or in a photograph does not exactly translate the way you may want it to look like on a cookie.
 |
| Christine's original sketch. We simplified it a little but the end result - as you will see - had the same look and came out great! |
I started asking a bunch of questions focusing on some of the detailing I could do, like metallic effects or rims of a car. I was way ahead of myself, and so instead, I learned to keep it relatively simple. What you see in real life doesn't translate perfectly onto a cookie, especially when working with a medium like icing. So I had some homework to do: Come up with a design of what you want your cookie to look like and stick to the important details.
Lesson #3: Making colors is like hitting a moving target.
In theory, creating colors was relatively simple if you remember your color wheel, but it still came with a few challenges. One, colors will set in and deepen a shade or two over time; the color you have now might be a shade or two deeper later. Two, I learned that certain food colorings, like black, may taste bitter if you add too much - so you have to choose those battles carefully (it's form vs. function- achieving a black color for aesthetics vs. making bitter-tasting cookies.


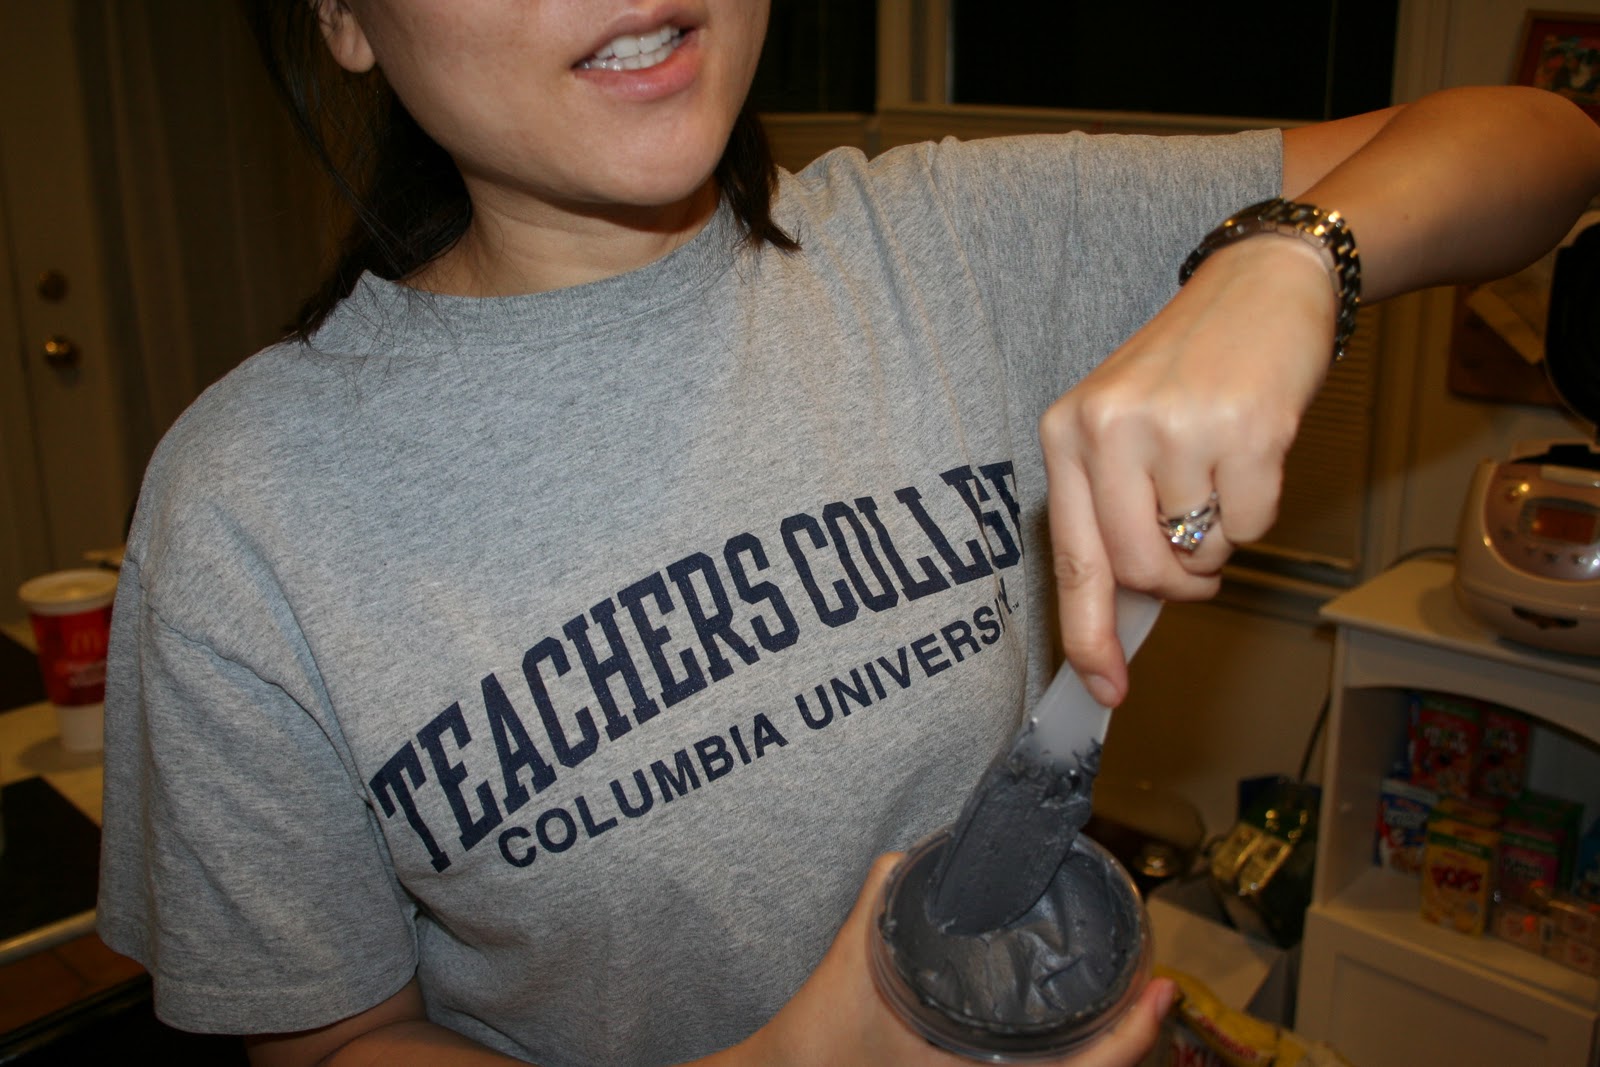 |
| Christine decided to pick the 2 of the most difficult colors for her project: red and black. Both colors usually need a day for the color to deepen to a true red/black. For black, you just want to color it until it gets a dark charcoal, then cover and leave overnight. In the morning you will see black! |
Lesson #4: Getting to the right 'goo' factor is key.
I learned this the hard way - if it's too thick/dry, then the icing won't settle evenly. I didn't test my icing beforehand, so when I piped it, it didn't move much and never spread out evenly. But if it's too thin, you won't be able to work in details.
 |
| Christine was frustrated at first, but you never know what it will look like until the end product! |
Outline first, fill in with color later.
Lesson #6: Use your counter-intuition when outlining your cookie.
This was one of the most difficult skill to achieve. First of all, icing is pretty much a free-hand process. I tried to cheat a little by first drawing my design directly on the cookies with a food pen. Intuition led me to believe that if I just piped directly on top of the surface of the cookie, tracing those lines with the tip of the icing bag, my cookie design will come out exactly the way I drew it. Problem is, the icing ends up uneven and more erratic because you're piping at slightly different pressure points along the surface - subtle at first, but those slight differences show. Lines actually come out ALOT cleaner and more consistent when you pipe away from the cookie, meaning that your holding the tip 1/2" - 1" away from the surface and so that the strand of icing will just 'fall' into place as you hover the tip over your design. Corners were pretty tricky too - it almost feels like you have less control and accuracy because you're further away from the cookie directly but once you can master it, you come out with much better results.
 |
| Those yellow squares were our test cookies. They remind me of eggs and ketchup for some reason. |
A friend came over to Jenny's place and we were chatting as I was icing. I paused, looking at my cookies and called out to Jenny, who was working in another room, telling her, "This doesn't look right!" Jenny immediately responded with, without having to see what I did wrong, saying, "It's because you've been talking the whole time." Lesson learned.
Lesson #8: Time is not on your side.
Once that icing leaves that bag, it's already started the drying process. So if you flood/fill-in a little too far into the drying process, those outlines will be distinct from the fill and show (which happened to most of my cookies).
Lesson #9: Toothpicks are your friends.
Toothpicks are great for helping 'spread' the icing and cleaning up some small slip-ups. But be careful to use the point of the toothpick and not the side of it; using the side will just spread the mess!
Lesson #10: Just when you think you're in the clear, holes and craters can appear!
If you don't find and pop the pesky airbubbles in the icing before it dries, they'll eventually find their way to the surface and make holes when they dry.
 |
| These cookies are layed out from top to bottom showing Christine's first attempt and onward. Can' you see a huge difference just from the first 3? |
 |
| I was pretty impressed that she wanted to even try rims. Adventurous gal. But paid off! |
 |
| Here are her 5 cars layed out in order of attempt. |
 |
| With a layer of luster dust to add a metallic shine |
 |
| Cookie glamour shot! |
 |
| Packed up and ready to go! |
It was a long process, but I enjoyed making the cookies. MIstakes were bound to happen, but I learned alot from them! If I had more time and do it over them, I'd probably do things slightly different and maybe add 1 or more details. However, Scott was still able to identify the correct model I was going for (C5), so that's a success in my book!
 |
| Apparently Scott was able to identity the exact model and make! |
 |
| Happy Birthday Scott! |
No comments:
Post a Comment